Lake Louise is always a safe bet for a cross-country ski weekend from mid-November through early April. The Moraine Lake Road and the Great Divide Road are usually trackset by the third weekend of November (earlier if we're lucky) and you can safely plan a spring break trip to Lake Louise, knowing you'll still have great snow to ski on. (Sometimes we're even able to ski at Louise for Easter!)
Book a room at the HI Lake Louise Alpine Centre and you won't even have to break the bank for your overnight ski getaway.
 |
| Cross-country Skiing at Lake Louise in gorgeous Banff National Park |
Table of Contents for this Guide
1. Early Season Skiing on the Moraine Lake Road
2. Early Season Skiing on the Great Divide Road
3. Our Favourite Ski Trails at Lake Louise
4. Other Ski Trails from the Great Divide Parking Lot
5. Skiing the Pipestone Trail Network at Lake Louise
6. Where to Stay for a XC Ski Getaway at Lake Louise
 |
| Cross-country skiing around Lake Louise is Magical! |
Early Season Skiing on the Moraine Lake Road
If you want early season grooming, Lake Louise is your best bet. The Moraine Lake Road is not plowed or open to vehicles in winter. Instead, it is usually groomed and track-set by mid-November and is a popular ski trail throughout the winter.
The Moraine Lake Road is double trackset for classic skiing (with a skating lane) for 9 km to a viewpoint where you can see the peaks that surround Moraine Lake. You can't see the lake, and proceeding past this point puts you into avalanche terrain. Regardless, it's a great workout even if you can't reach the lake, and it's an easy intermediate level trail with no big hills to climb or descend.
The road climbs ~ 275 metres at a gentle angle and you can usually climb/descend much of it by staying in the tracks. Newer skiers may feel more comfortable getting out of the tracks on a few steeper sections to descend.
Dogs are not allowed on this trail.
 |
| Cross-country skiing on the Moraine Lake Road early season |
Moraine Lake Road Parking:
There is a small parking lot at the entry to the Moraine Lake Road. If it's full, you can park above at Lake Louise and ski down the Upper Tramline Trail. This adds 2 km (one way) with just under 100 metres of height loss as you ski down the trail to the Moraine Lake Road. The challenge comes at the end of the ski when at least one person has to ski back up for the vehicle.
If you have children with you, send one adult back for the vehicle while a second adult skis the Lower Tramline Trail with the kids down to the old train station beside the Bow River. It's fun to get picked up at the bottom and it's downhill the entire distance for ~ 3 km.
** See the resources after the Great Divide section below for map and trail conditions links.
 |
| Early season skiing on the Moraine Lake Road |
Early Season Skiing on the Great Divide Road
The Great Divide is also normally groomed and track-set by mid to late November and is another early-season favourite. Being an old road, it doesn't take much to cover up the pavement for skiing (as is the same with the Moraine Lake Road.)
Unlike the Moraine Lake Road, the Great Divide Road is not open to vehicle traffic at any time of the year. It's always a hiking, biking, or ski trail.
Ski from the trailhead at Lake Louise to the Divide where you'll see the big arch on the Alberta / British Columbia border. It is a 7 km ski to the Divide. You can also continue for an additional 3 km to the Lake O'Hara parking lot in Yoho National Park.
The trail is double trackset for classic skiing with a skating lane. Expect to see dogsled teams along the one side of the trail and the occasional hiker.
The Great Divide Trail is relatively flat with one large hill down to the arch. The trail does trend downhill though as you head towards the BC border so you may feel like you're slowly climbing most of the way back. The trail loses 100 metres of height heading towards BC.
Dogs are not allowed on the trail (other than the ones that belong to the guided dog sled operation.)
 |
| The Great Divide on the AB / BC Border |
Ski the Great Divide Trail One-Way Alberta to BC:
If you have two vehicles, consider setting up a shuttle and skiing one-way from Lake Louise to the Lake O'Hara trailhead. You want to start at Lake Louise to enjoy more downhill skiing and less climbing.
Alternately, start at the Lake O'Hara parking lot and ski out and back as far as you want. This way it will definitely feel more downhill on the way back to the car. (And as a bonus, it's usually easier to find parking on the BC side when the Lake Louise parking lot is full.)
Skiing this trail with children:
With young children, ski out and back from the Lake O'Hara parking lot to the arch at the AB border for a pleasant 6 km return ski. It's relatively flat and easy skiing.
Another fun option with two adults and kids: Start out with the kids + a parent at Lake Louise and start skiing towards O'Hara one-way. The second adult will drive to the O'Hara parking lot and ski back to meet you. This allows the kids to ski the full 10 km distance one-way in the downhill direction. Parents can fight over who gets to ski with the kids. (I always win in our family.)
 |
| Early season skiing on the Great Divide Road |
Resources:
Current Trail Conditions for Banff and Lake Louise
Parks Canada Trail Brochure for Lake Louise - scroll down to find the "Winter Trails at Lake Louise Brochure." You can pick up a hard copy at the Lake Louise Visitor Centre in the Village too.
 |
| Cross-country skiing at Lake Louise |
Our Favourite Ski Trails at Lake Louise
Skiing the Tramline Trail
This is the absolute BEST ski trail for families with young children because you can ski it one-way from the lake down to the village, and it's relatively all downhill. And except for one hill, it's all very gentle, double polling, stay in the tracks, skiing. You won't be descending crazy hills or having to snow plow for kilometres on end. The entire trail is basically rail grade and perfect for teaching kick and glide with a bit of gravity in your favor.
The trail is double trackset for classic skiing. Expect to see the occasional hiker on the trail as well. Dogs are not allowed on the trail.
 |
| Our fav. scenic bridge on the Tramline Trail at Lake Louise |
Tramline is only 4.8 km one way and you'll lose 195 metres of height on your descent down to the Village.
See the Tramline Trail on the Parks Canada Trail Brochure for Lake Louise- scroll down to find the "Winter Trails at Lake Louise" Brochure. You can pick up a hard copy at the Lake Louise Visitor Centre in the Village too.
And you'll want to have this map open as you look at the extensions below.
 |
| The only intermediate section on the Tramline Trail at Lake Louise |
Tramline extensions for a longer outing:
- Tramline + Lakeshore Loop - Start at the bottom and ski up to the lake for a good workout. Then turn around and enjoy coasting back down. While you're at the lake, add on the Lakeshore Loop for an additional 4 km distance. Tramline + Lakeshore Loop total distance would be approx. 14 km. - Note you'll have to remove your skis to walk from the top of the Tramline Trail over to the lakeshore trailhead, but it's a short walk.
- Tramline + Fairview Loop - Start at the bottom and ski up to the lake. On your descent, ski around the Fairview Loop before hopping back on the Lower Tramline Trail. The Fairview Loop starts at the lake and ends on the Moraine Lake Road, a short distance up from the Tramline junction. (Check out the map before completing this one so you know where you're going.) The Fairview Loop is ~ 6 km in distance and more intermediate in nature than the easier Tramline Trail. Total distance for both Tramline + Fairview Loop would be approximately 10 km.
Families not wanting to climb Tramline can start at the top, ski the Fairview Loop, and then one adult would descend Lower Tramline with the kids while the other adult climbs back up the lake. Meet up at the old train station. We've definitely done this and it's a lot of fun. - Tramline + Bow River Loop - Add on the Bow River Loop from the bottom of the Tramline Trail. The loop is ~ 7 km long and relatively flat, so it's a great extension. We always add on this loop after skiing down the Tramline Trail.
Once you get comfortable with the map and the trails around Lake Louise, you can continue adding trails to make bigger loops. Tramline from the bottom up to the lake + the Lake Louise Loop + the Fairview Loop + Lower Tramline down + the Bow River Loop would be a great ski day!
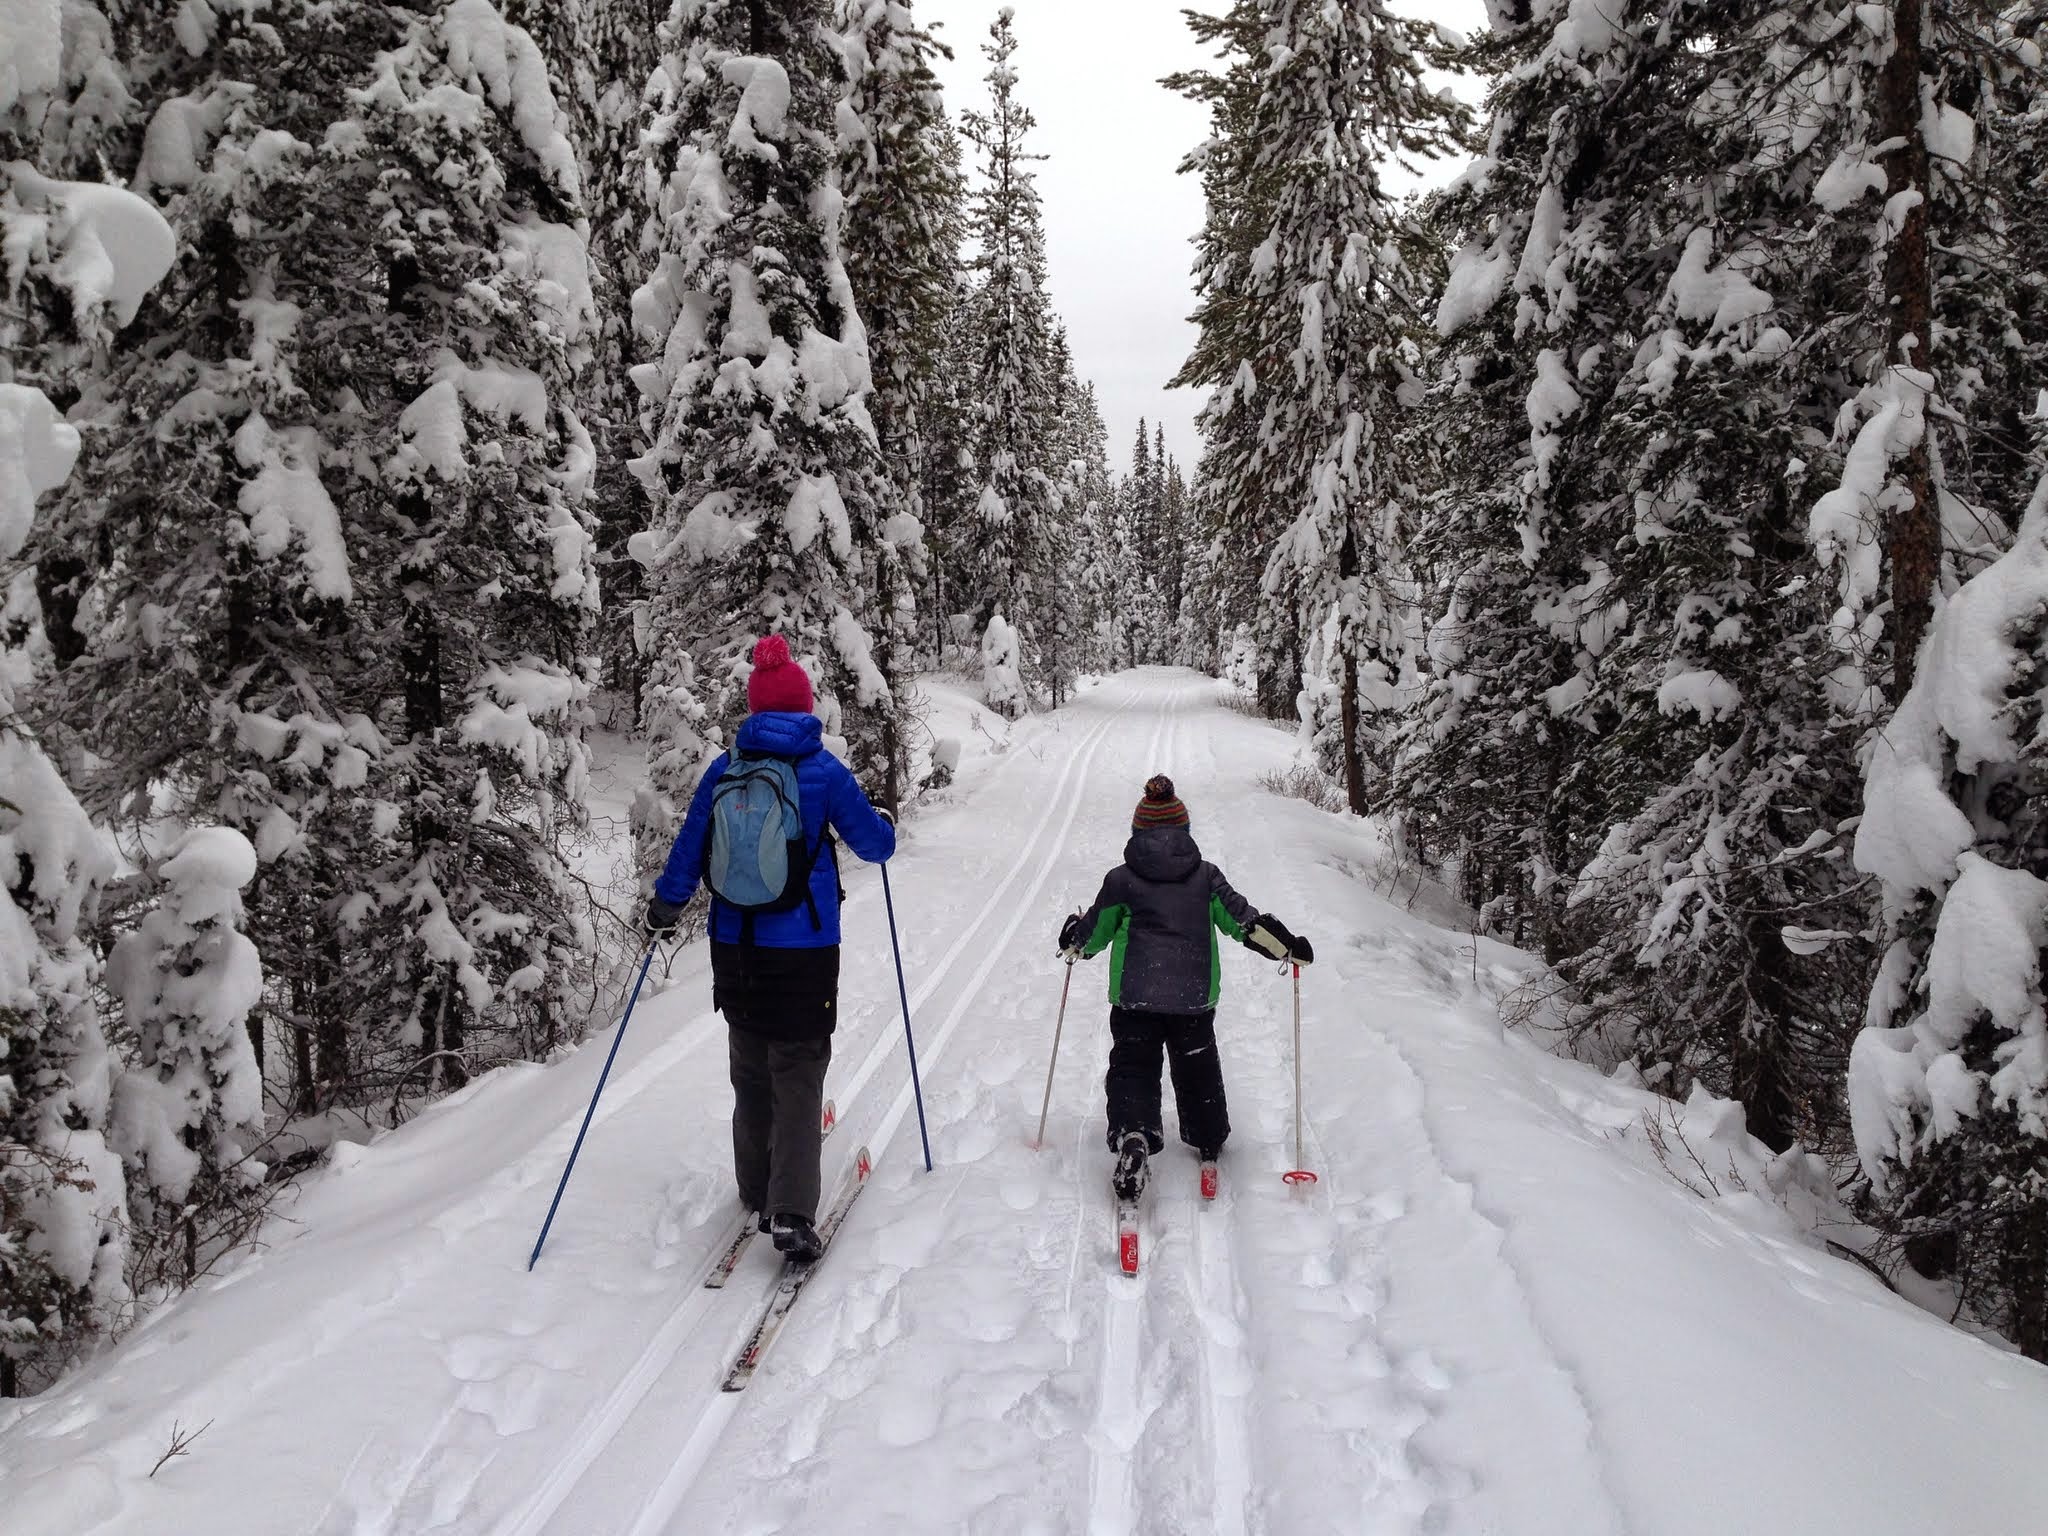 |
| Easy skiing on the Tramline Trail at Lake Louise |
Skiing The Bow River Loop
This is one of my favourite beginner-friendly trails for scenery, diversity, and general easy skiing with no hills to speak of.
The complete loop is ~ 7 km with shorter options possible. It is single trackset only which creates a more natural "classic" experience. There is no skating lane. Expect to meet up with the occasional hiker as well.
** And this is one of the rare trails at Lake Louise where dogs are allowed (on leash.) **
We always start at the old train station parking lot in the Village where there's ample space for parking. From here we follow the trail along the village-side of the river (not crossing the bridge from the parking lot.) You have a couple of unpleasant road crossings near the Village Centre (take your skis off and carefully cross the roads) but then you get into the Lake Louise campground area where there are no more road crossings.
 |
| Powder day on the Bow River Loop |
Follow the river through the trailer campground until you reach two beautiful bridges at the far end. This is your turnaround spot as you ski back on the other side of the river, skiing through the tenting campground. One more road crossing returns you to the first section of trail (on the other side of the river.) Cross the final bridge and you're back at your car.
For a shorter ski, you can start at the Village Centre and just loop the campground (trail 10 on the map.) There's also another small parking lot near the campground which shows up on the trail brochure. This would eliminate the need to cross any roads.
See the Bow River Loop on the Parks Canada Trail Brochure for Lake Louise- scroll down to find the "Winter Trails at Lake Louise" Brochure. You can pick up a hard copy at the Lake Louise Visitor Centre in the Village too.
 |
| Scenic bridge crossing on the Bow River Loop |
Skiing The Lake Louise Loop
Skiing could not get any easier than this one! You'll be skiing straight across Lake Louise, on the frozen lake itself. There is absolutely no height gain, not a single hill, and you'll enjoy grooming with tracks to ski in.
The loop is classic trackset (no skating lane.) Follow the ski tracks across the lake until you reach Louise Falls, a beautiful set of frozen waterfalls, approximately 2 km down the lake. There is also a snowshoe trail that crosses the lake but the two trails should be separate.
For your return trip, either retrace your steps and ski back across the lake, or climb up to the forested trail above the lake to complete a 4 km loop. The forest trail starts by the waterfall.
The forest trail is not overly technical, but it is narrower than the wide open lake. Regardless, it is definitely considered a beginner trail.
Save this outing for a sunny day for the best experience! And to extend your outing, bring sleds and skates for the Lake Louise skating rink and sledding hill (both located at the lakeshore.)
** Dogs are allowed on this loop (on leash.) **
 |
| A glorious bluebird day at Lake Louise |
Skiing The Fairview Loop
 |
| The Fairview Trail traverses beautiful meadows |
The full loop is 7.5 km if you start at the lake, ski the Fairview Trail to the Moraine Lake Road, ski down the road back to the beginning, and then climb the Upper Tramline Trail back to Lake Louise. There is ~150 metres of climbing overall.
The loop is best done counter clockwise so that you climb the Tramline Trail at the end. This allows you to enjoy the steepest hills on the Fairview Trail in the downhill direction.
The Fairview Trail is double trackset for classic skiing. Dogs are not allowed on the trail. And you should not see hikers on the trail. This is a ski-only trail.
When we ski the trail as a family, my son and I continue down the Lower Tramline Trail to the Village rather than climbing back to the lake at the end. My husband climbs the Upper Tramline Trail to get the vehicle, and then meets us at the Village.
See the Fairview Loop on the Parks Canada Trail Brochure for Lake Louise - scroll down to find the "Winter Trails at Lake Louise" Brochure. You can pick up a hard copy at the Lake Louise Visitor Centre in the Village too.
 |
| Snow sofa in the middle of the Fairview Trail |
Other Ski Trails from the Great Divide Parking Lot
If you've parked at the Great Divide Trailhead at Lake Louise, there are a few options for additional loops you can ski.
Lower Telemark Trail - As per the Parks Canada trail description: "Park at Great Divide trailhead, ski 700 metres, and turn right at the #8 trail sign. After 4.0 km of twists and turns, exit back onto the Great Divide trail, and turn left to return to your vehicle." The full loop will be approx. 8 km.
This is an easy beginner-friendly trail. It is double trackset for classic skiing, is a ski-only trail, and dogs are not allowed.
 |
| Beautiful skiing near the Great Divide along Upper Telemark and Peyto |
Upper Telemark and Peyto - Starting at the Great Divide, ski 700 metres on the groomed road until you come to the junction with both the Lower and Upper Telemark Trails. Turn left and follow trail # 7 up to the lake. It's easiest to take the "green" bypass trail up.
The trail ends by the Chateau if you want to do a lap around the Lake Louise Loop.
 |
| Starting up the Upper Telemark Trail from the Chateau Lake Louise |
On the way down, the trail is divided into green, blue, and black sections. We always descend the black section but it is very steep with twisty winding hills. The Upper Telemark Trail is also a narrow trail (even though it is double trackset) so beginners will find the hills intimidating.
Take whichever division of the Upper Telemark Trail you want to take back down towards the Divide Trail. Add on a short section of the Peyto Trail if you want heading west (left) for a longer ski back along the Great Divide. If you follow Peyto to the right, you'll end up back closer to the lake and nowhere near your car.
See the Great Divide Trails on the Parks Canada Trail Brochure for Lake Louise - scroll down to find the "Winter Trails at Lake Louise" Brochure. You can pick up a hard copy at the Lake Louise Visitor Centre in the Village too.
 |
| Starting the descent down the Upper Telemark Trail where snow plow skills are imperative |
Skiing the Pipestone Trail Network at Lake Louise
2025-26 update: There will be trail closures in the Pipestone area for Lake Louise fire guard work. Check updated trail reports to see which trails are affected.
The Pipestone Trail Network is located across the TransCanada Highway from the Village of Lake Louise. You can see it here on this Google Map link.
There are several trails here but the largest loop is the Pipestone Loop, an intermediate 13 km loop that is very hilly and requires a strong ability to climb and descend hills. The loop is typically skied counter clockwise.
 | |
|
Drummond is 2.7 km one way and is a beginner-friendly trail. Hector is 3 km one way and is also beginner-friendly though it does descend 95 metres from Pipestone Pond back to the parking lot (so don't choose it as your first ever ski trail.)
One final trail that has proven useful for us on occasion is the beginner-friendly Merlin Trail (#23) which works as a good shortcut trail off the top of the Pipestone Loop, heading down towards Pipestone Pond. Merlin is 2.3 km and it descends gently from the top of the Pipestone Loop. Watch out for the old cabin along the trail.
All trails in this network are single trackset classic. There is no skating lane and the trails are designated for skiing only so you should not meet hikers.
** Dogs are permitted on these trails (on leash.) **
See the Pipestone Trails on the Parks Canada Trail Brochure for Lake Louise - scroll down to find the "Winter Trails at Lake Louise" Brochure. You can pick up a hard copy at the Lake Louise Visitor Centre in the Village too.
 |
| Climbing skills are imperative for the intermediate Pipestone Loop |
Where to Stay for a XC Ski Getaway at Lake Louise
For affordable ski getaways at Lake Louise, we like to stay at the HI Lake Louise Alpine Centre located centrally near the Village with ski in/out access to the XC trails.
The alpine centre is a joint venture between Hostelling International Canada and the Alpine Club of Canada. Members of either club get discounts to stay here. The Centre has two buildings and each one has its own kitchen and lounge area. We usually get a room in the larger main building where the check in desk and restaurant are located. This is also the building with the biggest lounge area where you'll find a beautiful fireside room with pool table.
The kitchen in the main building is very big and great for large groups. There are plenty of tables, stoves, fridges, and even ovens in the industrial sized kitchen so that everybody can cook together at the same time.
 |
| The Lake Louise Alpine Centre has ski in/out access to the XC trails |
Accommodations at the HI Lake Louise Alpine Centre
There are options for both shared and private rooms at this luxury hostel, so don't worry if you value your privacy. We always get a private room here and it's generally a very quiet place to spend the night. The hostel is always clean and well managed, and we've never had a problem with other guests.
Private rooms sleep 2-6 people and many have their own private bathroom included. Other rooms have access to shared bathrooms located on the same floor as each room. Note private bathrooms do not include showers, but they are a short walk down the hall from all rooms.
We like the family rooms which sleep up to 6 people, some with separate sleeping lofts to give parents/kids a bit more space.
We've also booked a regular dorm room when we have a group of 4-6 people in the past. While not technically a "private" room, it's an affordable way to create your own exclusive room if you book all of the beds in the room.
 |
| From the Alpine Centre you can access all XC Trails and Snowshoe Trails around Lake Louise |
And still feeling nervous about staying in a hostel or worried that it won't be family-friendly, or that you'll feel really "old" surrounded by college students having après-ski parties?
My experience with most hostels here, especially the mountain hostels associated with Hostelling International Canada, is that you'll be surrounded by a very diverse group of guests. This isn't backpacking through Europe.
Expect to be sharing the Alpine Centre with other families, groups of active seniors traveling for a ski weekend together, young international travelers visiting ski resorts across the Canadian Rockies, couples who've booked a small private room for a night or two, and even groups of Scouts or Girl Guides. We've seen it all. You'll find everybody very friendly though, and full of exciting stories to share.
 |
| Ski out the door of the hostel on to the Lake Louise trail network |
Additional Resources

Disclaimer: We have worked with Hostelling International Canada for several years and support them regularly. We often receive hosted trips at their hostels.