The holiday season is quickly approaching and it's time to share a new Christmas Gift Guide with you once again. This year, I have decided to focus on gifts that you and your children can enjoy while hiking and snowshoeing this winter.
Check out my top ten gift ideas for winter hiking and snowshoeing.
 |
| Winter hiking is a blast so gear up for a great Christmas! |
1. Snowshoes for the Family
All Out Kids Gear has a great collection of snowshoes and when you shop from this company you're supporting a local Alberta business and family!
My 11 year old has the MSR Shift Kids Snowshoes and has been using them for several years now.
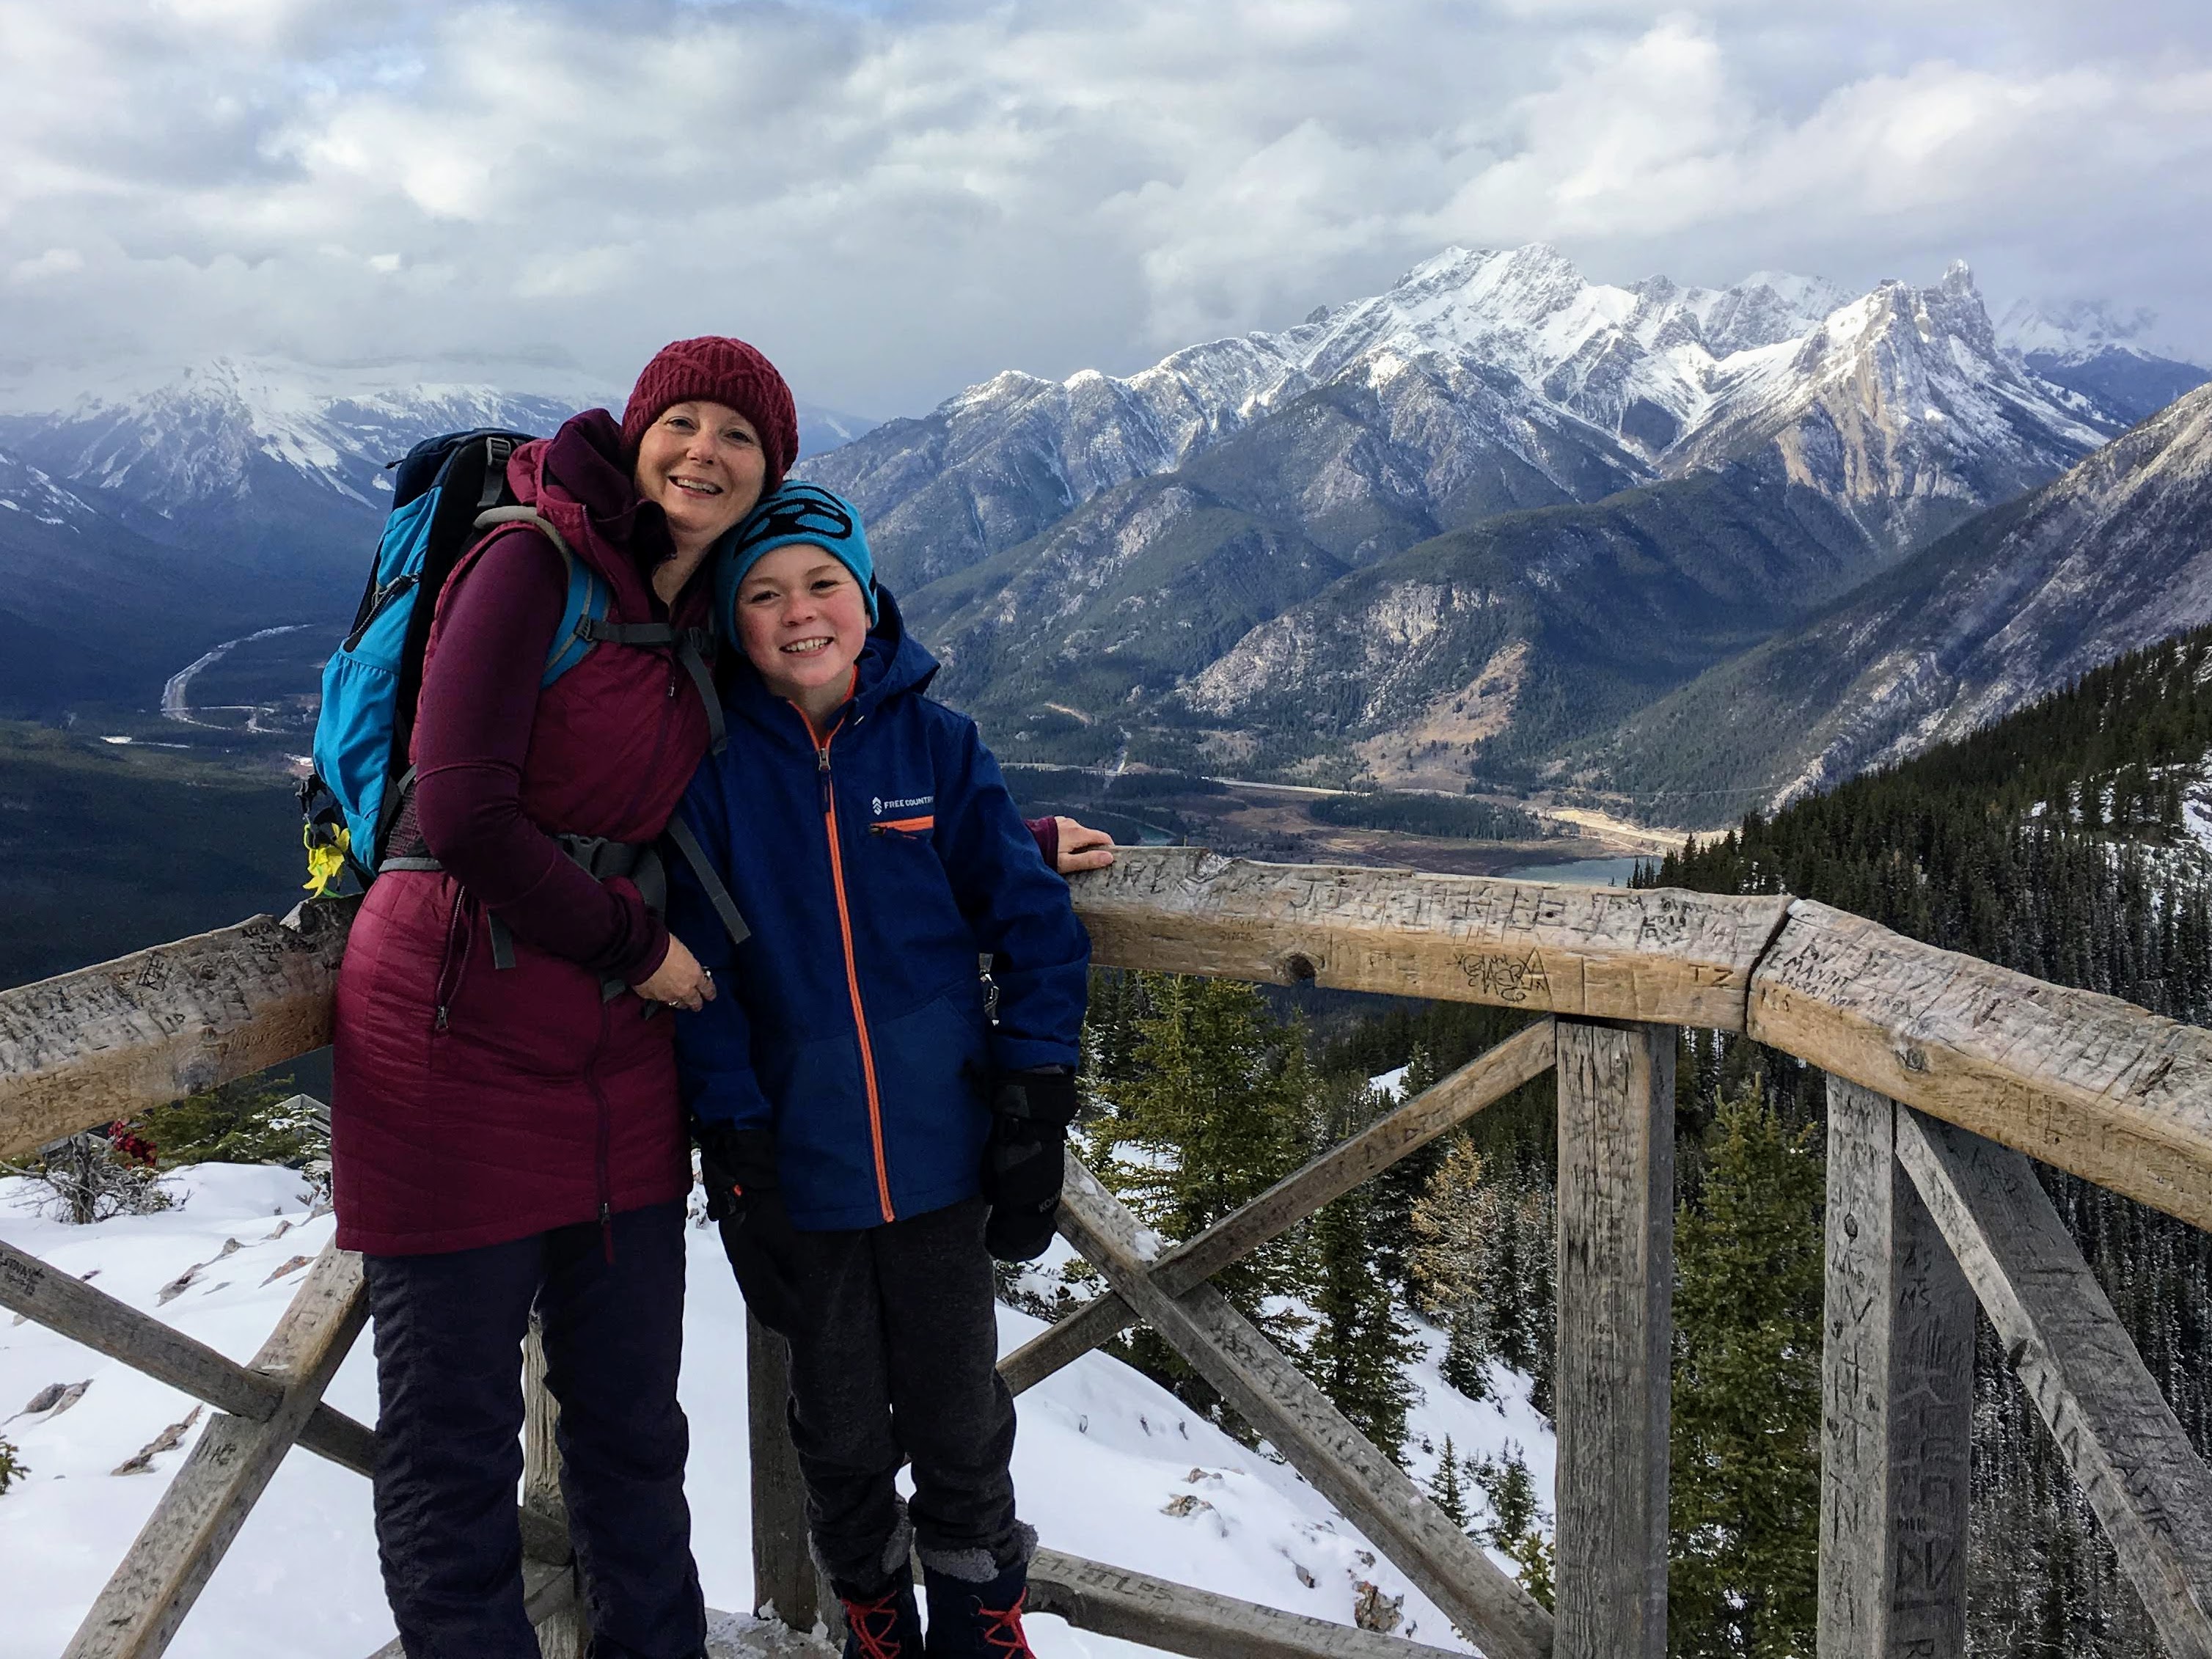
 |
| Snowshoes take you to places like this. |
2. Snowsuits to Keep the Kids Warm in the Snow
My son lived in his Ducksday Rain Suit when he was 4-6 years old on our winter adventures and it was our favourite piece of outdoor clothing for children. It always kept him warm and dry when worn over proper layers, it kept snow away from the skin since there's no pant/jacket gap, and he had great freedom to roll around in the snow without having to wear bulky outer layers.
 |
| Ducksday Rain and Ski Suits are Awesome for Winter Adventures! |
The rainsuit maxes out at size 110-116 (4-5y.) The sizing is generous though and my son was still able to wear the rain suit as a very tall 6 year old.
Next we moved up to the Ducksday Ski suit in the same funky red pattern and it is sold in larger sizing up to 116-122 cm (6-8 years.)
To order Ducksday products, visit the Ollie and Stella Outfitters website. And don't worry if you visit the online store and think that you must be from the US. The company definitely ships to Canada! Email the company directly to purchase your order at ollieandstellaoutfitters@gmail.com.
Stonz Wear boots and mitts are the best choice on the market for toddlers and preschoolers.
Now that the kids are warm, Mom and Dad need to be suitably clothed as well! Enter KEEN Footwear with a great collection of winter boots for the whole family.
To order KEEN boots for your family, visit the KEEN Canada website. Free shipping and returns is included on all orders within Canada.
What is a Buff? Only the best invention ever designed for winter and safer than a traditional scarf for keeping your face warm. Scarves can get caught in chair lifts, on playground equipment, or on trees while hiking. Meanwhile, a Buff is a tubular piece of fabric that can be worn as a headband, a hat, a balaclava, a neck warmer, or a scarf. They come in various fabrics (including fleece) and are often just as warm as a tuque or knit hat when warn over the ears.
Now that you're fully clothed and protected, it's time to focus on having FUN in the snow. And this is where the Strider balance bike comes in. Most families with toddlers or preschoolers will know about this 12" starter bike designed for kids aged 18 months to 5 years old. If you truly haven't heard of this pre-bike that's ridden without pedals, visit the Strider Bike website to take a look around.
 Continuing with the theme of having fun in the snow, I recently discovered this cool little book by Melissa Dymock that's full of games you can play as a family while out hiking and exploring this winter. The book is written with colorful photos the kids will enjoy and covers everything from safety in the snow to winter-themed science lessons, history lessons on the origins behind popular winter sports, and even includes some winter recipes at the end.
I've had a chance to preview the book and I'm very excited to try out a few of the games and activities this winter. I also know that my son will enjoy trying some of the science lessons and will like reading up on how some of his favourite sports became popular.
The book can be purchased from Amazon.ca and Amazon.com and would make a great Christmas present for children this year.
This goes on my Christmas gift guide every year because hiking is so much more fun if you bring a sled! It's easy to pull up the trail and can even carry some gear (usually snowshoes we end up not needing on packed trails.) Then on the way down, place one or two tired children in the sled and guide the sled safely down the trail. The kids have a blast and you'll get a great workout trying to keep up to the sled. (And helmets are really recommended despite the lack of one pictured in the photo below.)
Finally, add some new snow toys (including snowball slingshots!) - See a giant assortment of fun toys here from Airhead Sports.Whether you choose to bring a Strider bike with Skis, a sled, or a snow scooter, bring something and the kids will have a lot more fun hiking this winter.

Next we moved up to the Ducksday Ski suit in the same funky red pattern and it is sold in larger sizing up to 116-122 cm (6-8 years.)
To order Ducksday products, visit the Ollie and Stella Outfitters website. And don't worry if you visit the online store and think that you must be from the US. The company definitely ships to Canada! Email the company directly to purchase your order at ollieandstellaoutfitters@gmail.com.
 |
| Ducksday Snowsuits can handle ANY weather! |
3. Good Winter Boots and Mitts for the Kids
 |
| Stonz on the Hands and Feet |
My son was able to snowshoe and hike in temperatures down to -30C for several hours without getting cold! The Stonz boots also weigh less than any other pair of winter boots you will find (They only weigh 1.3 pounds per pair!)
The Stonz mitts have also been a godsend for our family and at age 11, my son still fits the largest size (which is rather incredible since they're sized at age 4-8 years.)
The Stonz mitts have also been a godsend for our family and at age 11, my son still fits the largest size (which is rather incredible since they're sized at age 4-8 years.)
Snow never gets inside the gloves thanks to their design. They fit over top of the child's jacket and cinch tightly at the wrists and elbows to ensure snow stays out where it belongs!
Both the boots and mitts are waterproof and we've had wonderful winter adventures with Stonz Wear on our team.
To order Stonz Wear Products for your family, visit the Stonz Wear website where you'll get free shipping on orders of $70+ across Canada and the US.
Both the boots and mitts are waterproof and we've had wonderful winter adventures with Stonz Wear on our team.
To order Stonz Wear Products for your family, visit the Stonz Wear website where you'll get free shipping on orders of $70+ across Canada and the US.
 |
| Toasty warm in TOBE Bib pants and ski jacket, Stonz Mitts on top |
For older kids, check out the great selection of boots and mitts on the All Out Kids Gear website. The North Face Alpenglow Extreme III Kids Winter boots look fantastic. I'm also eyeing up the Reusch mitts for our adventures this winter.
 |
| TOBE and Stonz continue to keep my son warm on our hikes |
4. KEEN Winter Boots for Mom and Dad
Now that the kids are warm, Mom and Dad need to be suitably clothed as well! Enter KEEN Footwear with a great collection of winter boots for the whole family.
To order KEEN boots for your family, visit the KEEN Canada website. Free shipping and returns is included on all orders within Canada.
For women, I recommend the Revel IV High Polar Boot for hiking and snowshoeing. In the city, you'll be comfortable in the Women's Terradora II Winter Lace Up Waterproof Boots - which are actually on my Christmas list this winter.
And in the city for urban jaunts, I live in my Women's Kaci Winter shoes. They're simple pull on shoes with no laces or anything fancy. They have good grip and are warm for any trip around the city.
I also love my Howser slides for comfy footwear around the city (think outdoor slippers that hug your feet.)
Mom's likely the one that's walking the kids to school in the morning, standing around the playground after school as the temperatures drop in the late afternoon, and the one who's taking the younger children outside to play during the day. Mom needs a warm but stylish jacket!
Fortunately, I've found many amazing jackets through Columbia Outerwear.
To see Columbia's full product line up, visit the Columbia website and go to the store locator to find an outlet near you selling Columbia clothing and gear. I buy most of my clothing from local sports stores.
We love winter hiking in canyons but there's no way I'd take my family on a slippery icy trail without some form of traction.Winter boots are great but they don't provide enough grip to prevent a potentially dangerous fall, and snowshoes feel cumbersome on ice. Thankfully, we've discovered the amazing Kahtoola microspikes and the small size often fits youth feet.
 |
| This is where my KEEN boots will go this winter! |
5. A New Ski Jacket for Mom
Mom's likely the one that's walking the kids to school in the morning, standing around the playground after school as the temperatures drop in the late afternoon, and the one who's taking the younger children outside to play during the day. Mom needs a warm but stylish jacket!
Fortunately, I've found many amazing jackets through Columbia Outerwear.
To see Columbia's full product line up, visit the Columbia website and go to the store locator to find an outlet near you selling Columbia clothing and gear. I buy most of my clothing from local sports stores.
 |
| Winter is meant to be embraced and loved! |
6. Kahtoola Microspikes
We love winter hiking in canyons but there's no way I'd take my family on a slippery icy trail without some form of traction.Winter boots are great but they don't provide enough grip to prevent a potentially dangerous fall, and snowshoes feel cumbersome on ice. Thankfully, we've discovered the amazing Kahtoola microspikes and the small size often fits youth feet.
Thanks to my microspikes, I can walk up frozen waterfalls, I can do winter scrambles on trails that are steep and treacherous, and I can enjoy winter to its fullest!
 |
| You want spikes when you're hiking on ice! |
7. Skin Protection with Buffs for the Family
What is a Buff? Only the best invention ever designed for winter and safer than a traditional scarf for keeping your face warm. Scarves can get caught in chair lifts, on playground equipment, or on trees while hiking. Meanwhile, a Buff is a tubular piece of fabric that can be worn as a headband, a hat, a balaclava, a neck warmer, or a scarf. They come in various fabrics (including fleece) and are often just as warm as a tuque or knit hat when warn over the ears.
Every member of my family has at least one or two Buffs and we especially like to wear them under helmets. I also like to wear mine as a headband when camping to keep my crazy hair under control and my husband finds his to be a light weight alternative to tuques and hats.
To read more about this amazing product, visit the Buff Canada website. You can buy them in a variety of brands at most outdoor stores. We also have fleece ones that we like.
To read more about this amazing product, visit the Buff Canada website. You can buy them in a variety of brands at most outdoor stores. We also have fleece ones that we like.
 |
| We live in our Buff face wraps in the winter |
8. A Strider Balance Bike with Ski Attachment
Now that you're fully clothed and protected, it's time to focus on having FUN in the snow. And this is where the Strider balance bike comes in. Most families with toddlers or preschoolers will know about this 12" starter bike designed for kids aged 18 months to 5 years old. If you truly haven't heard of this pre-bike that's ridden without pedals, visit the Strider Bike website to take a look around.
Add a ski attachment to the bike and voila, you have a ski bike for your youngsters!
 |
| The coolest Christmas present to put under the tree |
9. "Sliding in the Snow" by Melissa Dymock

I've had a chance to preview the book and I'm very excited to try out a few of the games and activities this winter. I also know that my son will enjoy trying some of the science lessons and will like reading up on how some of his favourite sports became popular.
The book can be purchased from Amazon.ca and Amazon.com and would make a great Christmas present for children this year.
 |
| One of the games in Melissa's book - Snow Mazes (which is super fun!) |
10. A New Sled
This goes on my Christmas gift guide every year because hiking is so much more fun if you bring a sled! It's easy to pull up the trail and can even carry some gear (usually snowshoes we end up not needing on packed trails.) Then on the way down, place one or two tired children in the sled and guide the sled safely down the trail. The kids have a blast and you'll get a great workout trying to keep up to the sled. (And helmets are really recommended despite the lack of one pictured in the photo below.)
Shop Amazon for A new sled! (sleds get cracked, broken, etc. and there are so many cool varieties to buy as a Christmas gift.!)
 |
| Sleds are fun for all ages! |
We also love Snow Skates, Scooters, and Boards for the sledding hill (My son has the Shred snow skate and loves it!)
 |
| The Shred Snow Skate is a lot of fun at the sledding hill |


